01 - Python installation

Anaconda is a free and open source ditribution of Python and R programming languages particularly oriented for applications in data science. One of the major assets of Anaconda is its simplification in the management of packages and their dependencies.
Contenu de la page
- Working environment installation on Microsoft Windows
- Installing Python with Anaconda
- Creating a first Jupiter Notebook
- Installing Python packages
- Package installation with conda (preferred)
- Package installation with pip
- Manually install a package (as a last resort)
- Compose with corporate network constraints
- Install a Python package with pip without Internet access
- Troubleshoot Anaconda proxy issues
Pour ceux bien décidés à utiliser R en lieu et place de Python : Documentation Anaconda détaillant l’installation de R pour le Jupyter Notebook
Working environment installation on Microsoft Windows
Installing Python with Anaconda
Download the version of Anaconda supporting the latest version of Python 3: https://www.anaconda.com/download/#windows
Launch and follow the instructions of the installation executable.
Once the installation is complete, launch the anaconda console via Start menu > Anaconda3 > Anaconda Prompt.
Create a Python 3.7 conda environment. (for more information about this consult the documentation on managing environments)
conda create --name py37 python=3.7
The ability to create an environment with Anaconda for a package caused me some problems, so I ended up using the Python 3.7 environment installed by default.
To activate your environment within the Anaconda console, enter:
activate py37
To leave your environment, simply enter:
deactivate
Check your version of Python in this environment:
python --version
If you have a Python 3.7 environment installed, it should be returned to you: Python 3.7.0
Create a first Jupiter Notebook
In the Anaconda console, navigate to the directory of your choice, for example:
cd ./Documents/Python_notebooksLaunch a Jupiter notebook
Jupyter Notebook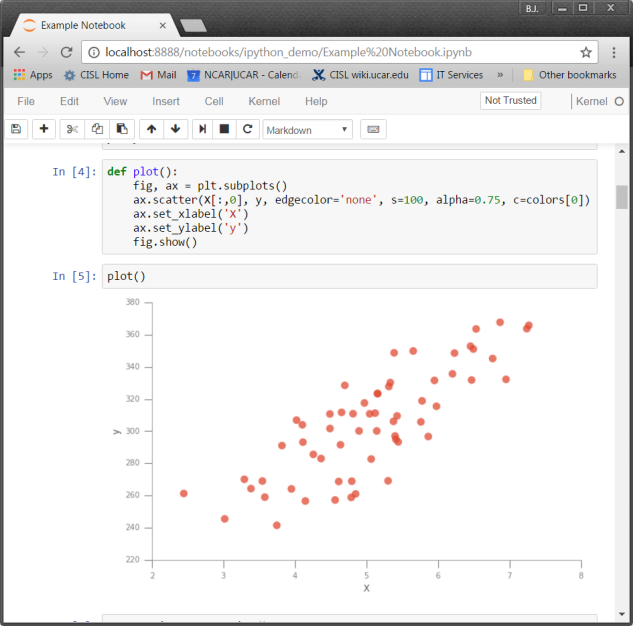
Create a new notebook by clicking New > Python 3
In the empty dialog box, enter:
import os

curDir = os.getcwd()
print(curDir)
Run this cell either by pressing Shift+Enter or clicking Run
Its execution should return the current location of your notebook, something similar to:
C:/Users/xxxxx/Documents/Python_notebooks
Installing Python packages
Package installation with conda (preferred)
Say you want to install the Jupyter notebook extensions from the following GitHub directory: https://github.com/ipython-contrib/jupyter_contrib_nbextensions
You can do this very simply now that you have Anaconda, with the following command:
conda install -c conda-forge jupyter_contrib_nbextensions
The installable packages via conda are listed within https://anaconda.org/
With this package just installed, you will be able to activate an autocompletion wizard. To do this, access your new configuration page: http://localhost:8888/nbextensions?nbextensions=codefolding/main
And activate the Hinterland extension by checking the associated box.
You will now see in your notebook an autocompletion assistant during your keyboard entries.
Package installation with pip
If the package you are looking for is not part of Anaconda-managed packages, or you want to take advantage of the latest version of a package not yet supported by Anaconda, you can always try to find it on the Python Package Index Aka PyPi: https://pypi.org/
Package installation with pip takes the following form
pip install nom_du_package
You will potentially encounter error messages that indicate missing prerequisite packages. Yes … Anaconda takes care of everything, with pip it’s up to you to do the job.
Manually install a package (as a last resort)
As a last resort, if you need a package not available conda or pip, you can still install it manually.
- Download the package source files
- Unzip them if necessary
- If there are any installation instructions (usually found within INSTALL.md or READ.md) read them and follow them OTHERWISE
- Navigate through the Anaconda console in its directory containing the
setup.pyfile - And just type and run
python setup.py install
Compose with corporate network constraints
Say you want to install the seaborn package.
Troubleshoot Anaconda proxy issues
When trying to install a Python package via the command-line tool conda, you might find yourself stuck with the following message
conda install -c conda-forge seaborn
Fetching package metadata:
To resolve this problem, contact your network administrator and request details about the enterprise proxy.
With this information you will edit a .condarc configuration file within your user folder (C:\Users\votre_repertoire_utilisateur).
.condarc, configuration file is an optional configuration file that allows advanced users to configure different aspects of conda, such as package discovery channels, proxy configuration, and environment directories.The
.condarc file is not included by default in the Anaconda installation, but it is automatically created within your home directory (C:\Users\Username) the first time you run the command: conda configAt your command prompt, create the .condarc file by running the command
conda config
Edit your .condarc file with the information provided by the network administrator.
- with identification information:
proxy_servers:
  http: http://user:pass@corp.com:8080
  https: https://user:pass@corp.com:8080

ssl_verify: False
- without identification information:
proxy_servers:
  http: http://corp.com:8080
  https: https://corp.com:8080

ssl_verify: False
Install a Python package with pip without Internet access
From a machine where you have access to the Internet, download from https://pypi.org or any other relevant source the .whl file of the package you want to install.
The .whl file for seaborn can be downloaded from https://pypi.org/project/seaborn/#files
Transfer this .whl file to the machine where it is to be installed, the one that does not have Internet access or restricted access, and run the following command (replacing the name of the .whl file with the one you just get):
pip install seaborn-0.9.0-py3-none-any.whl
You will probably face some warnings in red with messages of the form:
xxxxxx xx.x.x requires xxxxxx>=xx.x.x, which is not installed.
This message indicates that you must first follow this process for each missing Python package before you can install the package that you originally wanted.
An alternative to using a .whl file is installing manually the previously processed package.